How to use GitHub's Special Profile Repository
Preface
GitHub profiles are generic, and while there are ongoing design updates across GitHub currently being rolled out, one new feature has been made available to members.
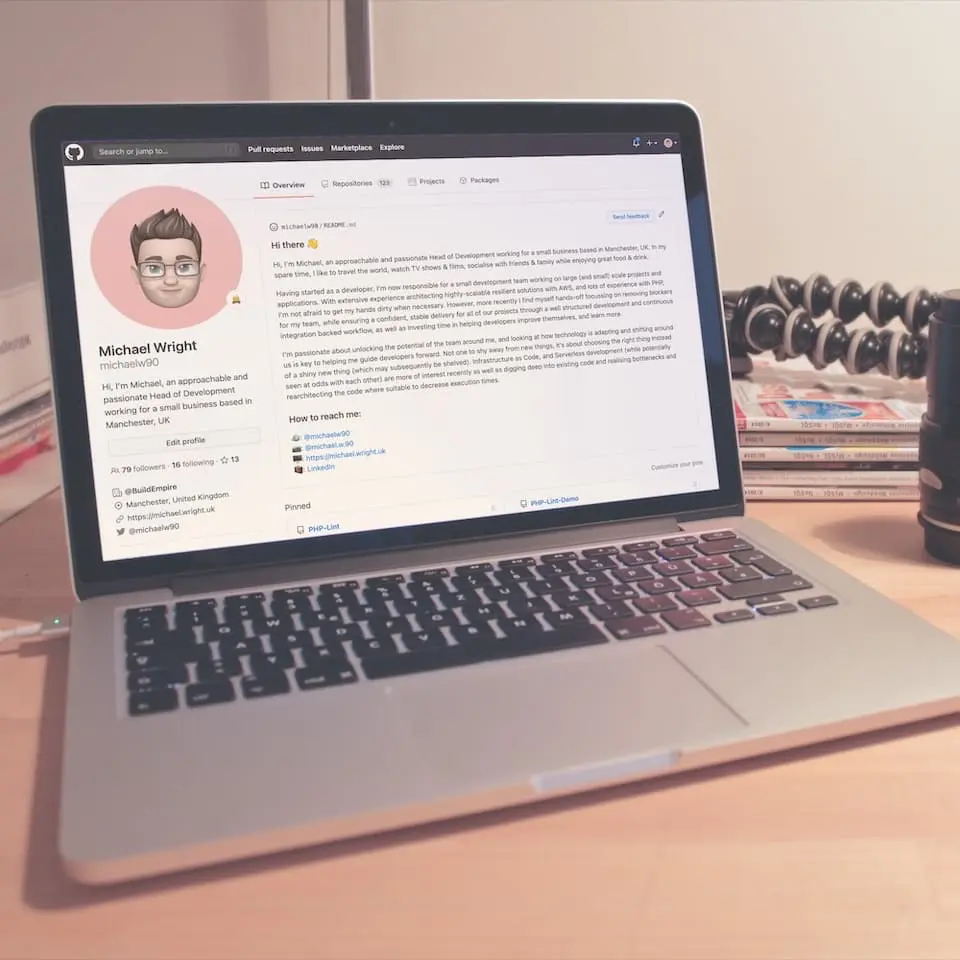
This repository allows you to specify a README.md file, which will display the contents correctly on your profile’s page - as per the image above. As it’s a markdon file, you can do all the normal formatting that you could do with a wiki or similar on GitHub.
But Why?
Well, it’s to add some extra personality to your own profile, instead of using the (slightly) limited existing fields that GitHub offers. Some people may use it for showing off their latest work, or images, some might use it to link to the other site(s) or social media that aren’t possible through the usual processes.
It’s a slightly less limited way to add some personalisation to your profile on GitHub, and can be a kinda cool way to get some new attention for yourself when sharing your profile during job recruitment, outside of just having lots of great repositories.
I’ve just used mine (for the purposes of this article) to hold the same paragraphs about me as are on the “Who am I?” page.
How do I use it?
Well, it’s pretty simple, and straight forward.
- Create a new GitHub repository
- Set the repository name to be your username
- Set repository to “Public”
- Tick the “Initialize this repository with a README” checkbox
- Create repository
When you’ve created the repo, you can go through and modify the README.md file, or you could jump straight over to your profile & see how it looks out of the box.
If you make some cool changes to your profile README file, please shoot me a link over on Twitter to show it off.